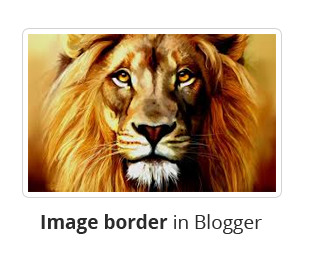
How To Add Border On Image In Blogger

To add border around images you need to write simple codes of CSS. With these codes you can easily add different kinds of borders having any colors that you want.
The very first thing you need to do is to login to Blogger.com >> Template >> Edit HTML >> Search for the b:skin>> tag. After finding the skin tag, just above it paste the following code:
.post img {
border:5px solid #d2d2d2;
padding:2px;
}
In the above code you can change the #d2d2d2 with any other hex color to alter the color of your border. You can also increase the above 2px to a higher number to increase the blank space arround the border.
Furthermore you can also use different types of borders in your images, following are some border types that you can use:
- solid: Defines a solid border
- dotted: Defines a dotted border
- dashed: Defines a dashed border
- double: Defines two borders. The width of the two borders are the same as the border-width value
- groove: Defines a 3D grooved border. The effect depends on the border-color value
- ridge: Defines a 3D ridged border. The effect depends on the border-color value
- inset: Defines a 3D inset border. The effect depends on the border-color value
- outset: Defines a 3D outset border. The effect depends on the border-color value
Once you are done customizing your image border, press the "Save Template" button present at the very top of your screen.


